How Can We Help?
Document Actions
For any documents that require a task/action to be assigned without an automatic trigger, this is a manual process for the User to create a task requesting this. A client must be selected first.
A user can access Document Actions multiple ways
- Activity Menu > Actions > Document Actions
- Document Menu> Document View > Folder > Document Name > Actions Tab
- Document Menu > Document Search > Create Action

How to create a Document Action from the Document Details Screen
Procedure: Follow the steps below to create an action.
Navigate to the Document View screen for the Client, select the document you wish to create an Action for. The Document Details section should now be displayed
Click on the Actions Tab
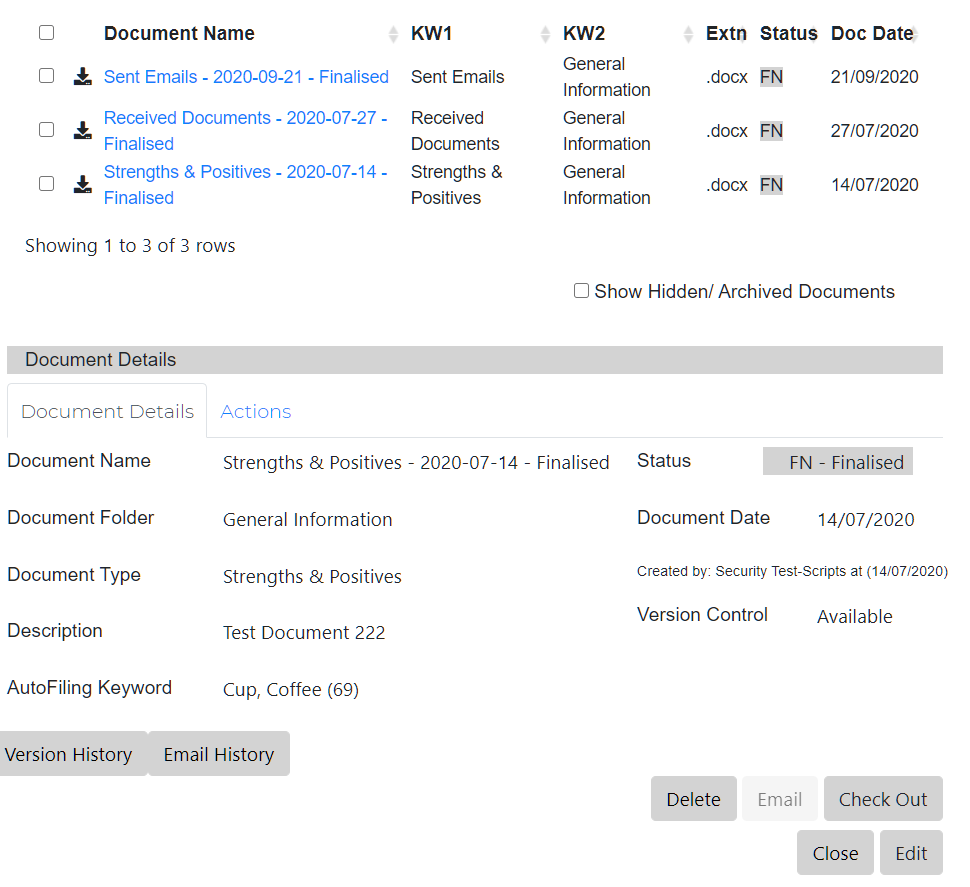
Click on the Create New Document Action hyperlink to open the Document Action Screen
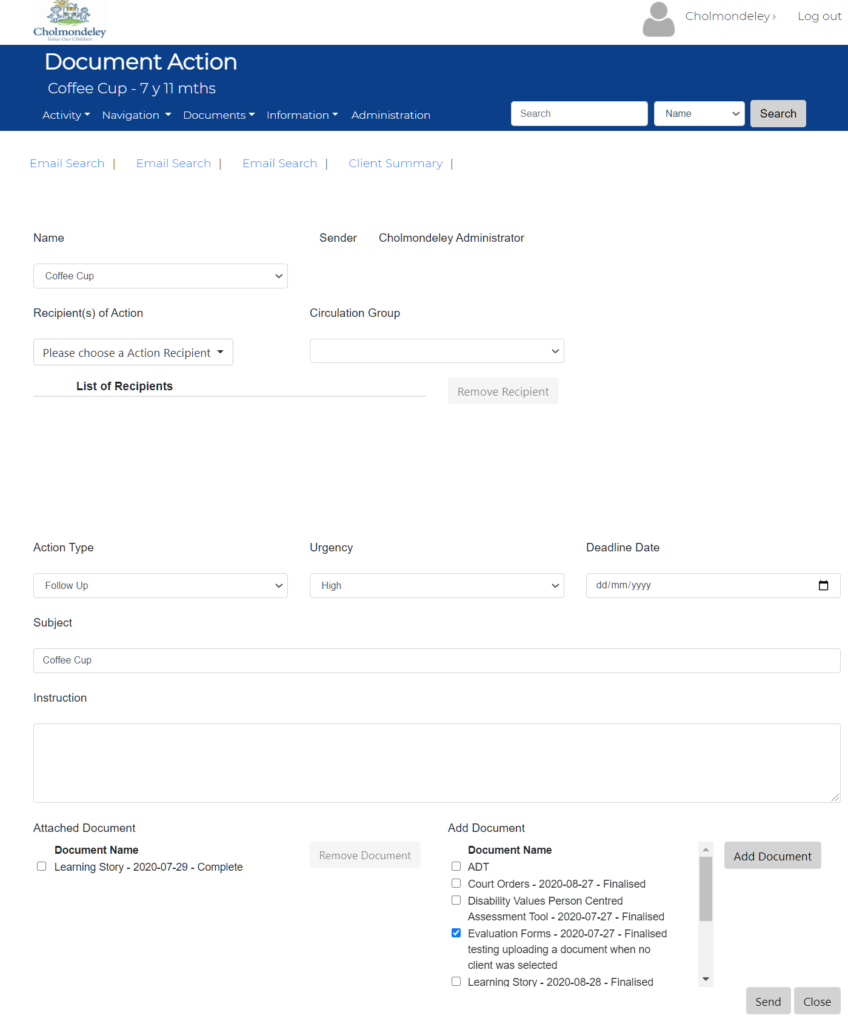
Name – By default the record already selected will have their name populated, The User can from the drop down select the Clients Active Key Contact, Professional Contract or Relationship record.
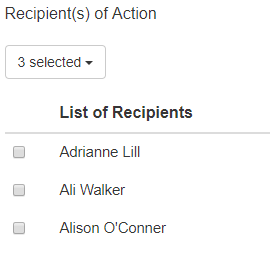
Recipient(s) of Action – Lists all Users and will allow the user to add more recipients, can multi select, all selected recipients will be listed below List of Recipients, each recipient will have a check box next to their name so they can be removed if necessary.
Circulation Group – This will list all the Circulation Group names for the User to Select. Once selected the individuals of the Group will have their names displayed, each recipient will have a check box next to their name so they can be removed if necessary.
Action Type – This can be User defined, select from the dropdown menu, and is shown on the “Notice Board” and the “Client Summary” Tasks screen.

Urgency – User to select from drop down list.
Deadline Date – User to select date – if the task is not completed after this date, an email is sent to the sender and recipient reminding them to action this task.
Subject – The client name will appear in the title, you can add to this.

Instruction – Write your instructions here, this is free text.
Attach a Document – Select the tick box next to the document you wish to attached, then select the Add Document button, the document will then appear on the left-hand side under the Attached Document label, to remove this, this the tick box and then Remove Document, you can multi select documents to attached.
Once documents selected, click Save
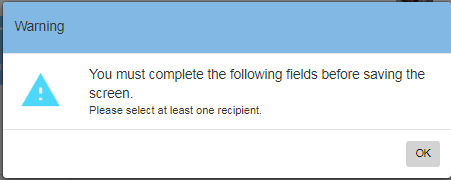
if no recipients are selected you will receive a warning message
Complete – After this button is selected the Task is removed from the Users Overview, Notice Board, the status is changed to Completed and date and timestamped. This can be viewed in the Document Viewing Action Tab for each document. A pop up box will appear when Completed is selected,
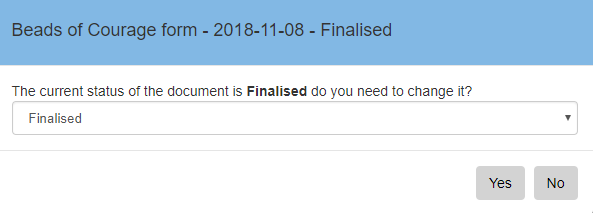
If yes is selected you will be asked to select the status

Select Yes, if you would like to sender to receive a Completion notification Select No, if you do not want the sender to receive a Completion notification
Forward Button
If necessary, a User can forward an Action for completion, when clicked the User will be taken to the original Action screen, and can reassign the User to this request.
Delete Button This deletes the task from the Users list, and sends a notification to the sender that the task was deleted. Note – this button is only enabled if the Users Role is Admin.
Close Exists out the screen and back to the last screen the user was in.